Photo session process
This is a typical session process from beginning to end:
- Discuss overall project details and expectations (including tentative session dates and tentative shot list).
- Determine photo usage and explore preliminary session options.
- Your booking proposal will allow you to review your session options, choose a session package, and submit a payment.
- Your session will be booked upon receiving a deposit.
- Schedule shoot date.
- Depending on the session package, determine a specific shot list by providing snapshots of the project or scouting the site in person or virtually.
- Property access information.
- First, review the shot list (assess session length based on the current condition of the property).
- Set up equipment to get started!
- If necessary, rearrange furniture, move accessories, and style the space.
- If agreed upon in advance, review images via iPad while pinning down the composition of images.
- Edit preselected images.
- Prepare an online gallery for review.
- Finalize images chosen by the client.
- Upon receiving payment for the remaining balance, final images are delivered via the online gallery or via a Dropbox link.
capturing & Editing process
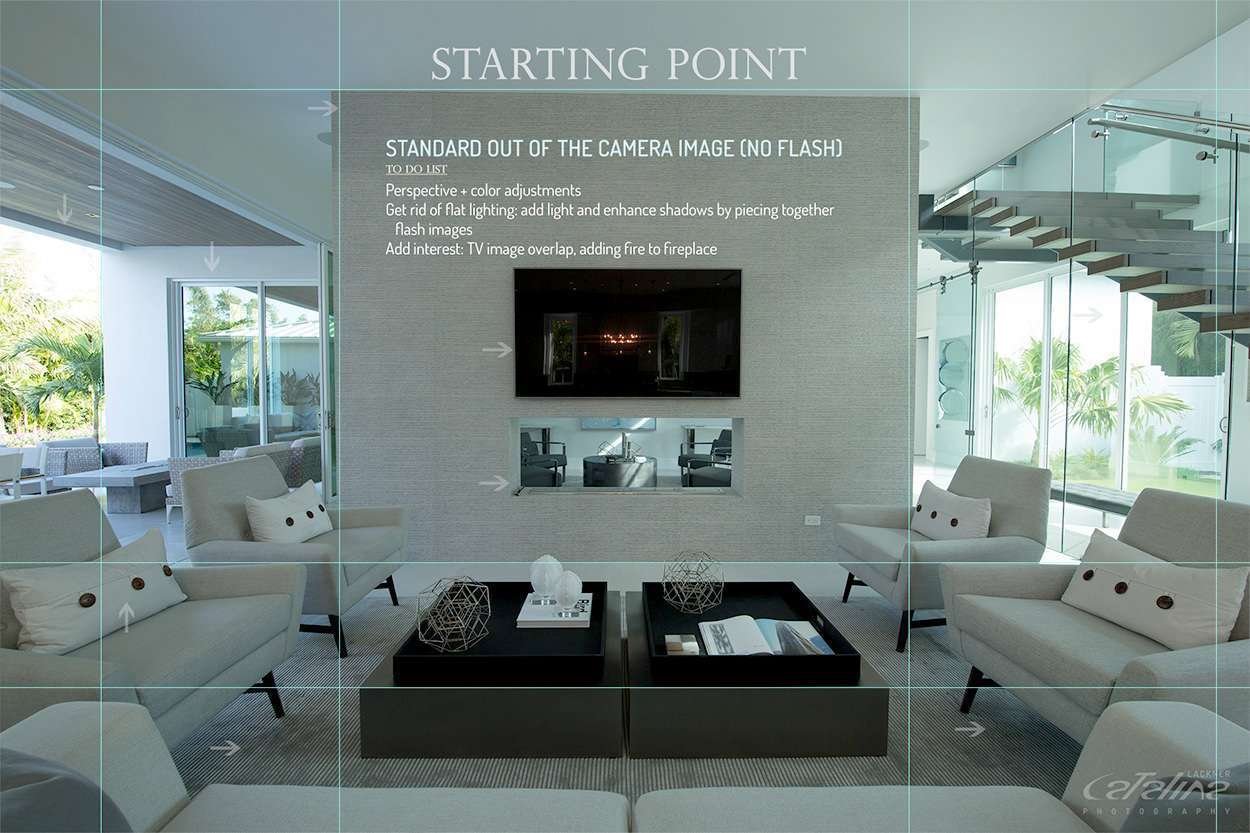
It all begins by taking raw images that will be later carefully pieced together into a final image.
Designers and builders need photographs that accurately represent their original vision and photographing interiors has its tricky instances, especially when natural light is scarce. The camera does not capture the full dynamic range of a scene like the human eye does. You can end up with photos where the inside gets exposed perfectly while the outside looks completely washed out. In order to portray what our eyes actually see, many exposures have to be pieced together. The idea behind interior design photography editing is to make the viewer feel as if they are inside the room.

Before To Do List After

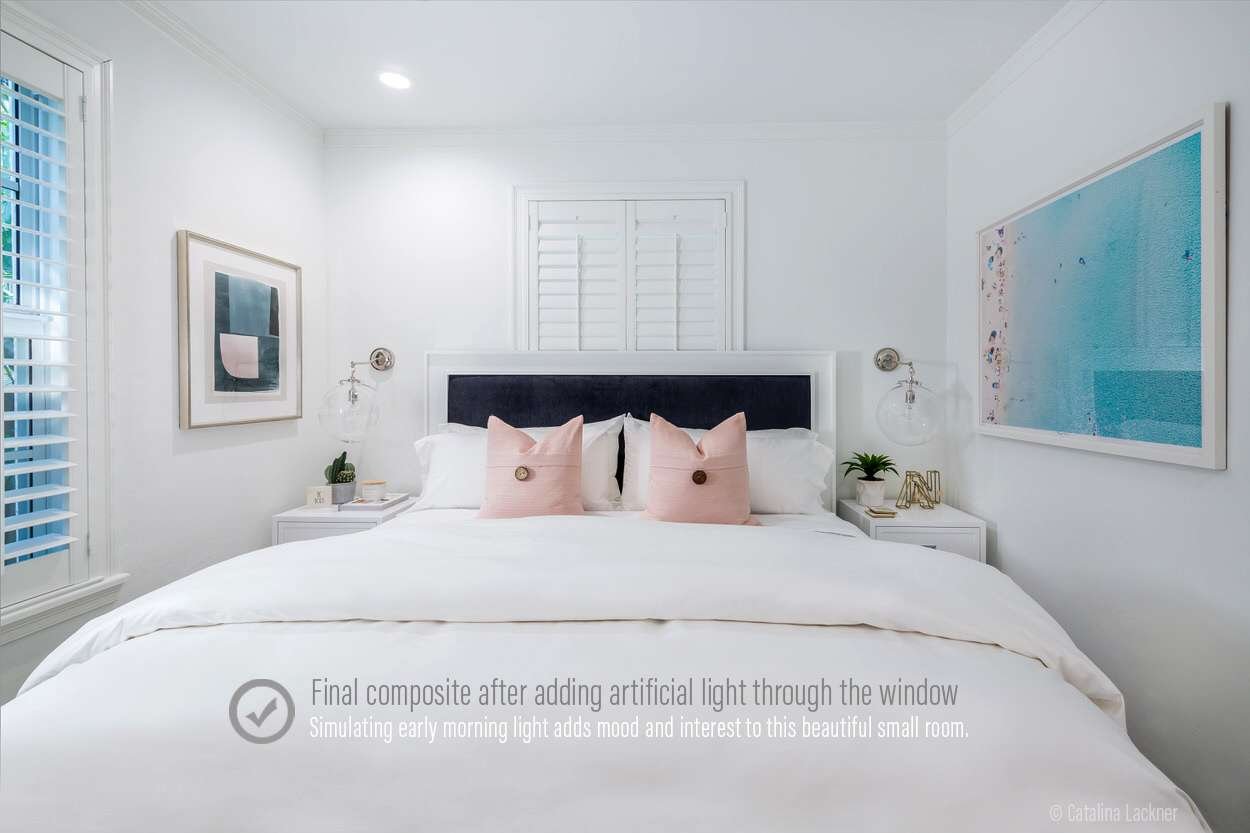
Before Faking Morning Light After
Selectively lighting areas to create several images that can be later carefully composited into one final photograph is one of the best approaches to creating great-quality interior photos. It is undeniably a more time-consuming process than shooting under natural light only, but it is well worth the extra effort!

Before Before After After

Before Before After After

Before Comparison After
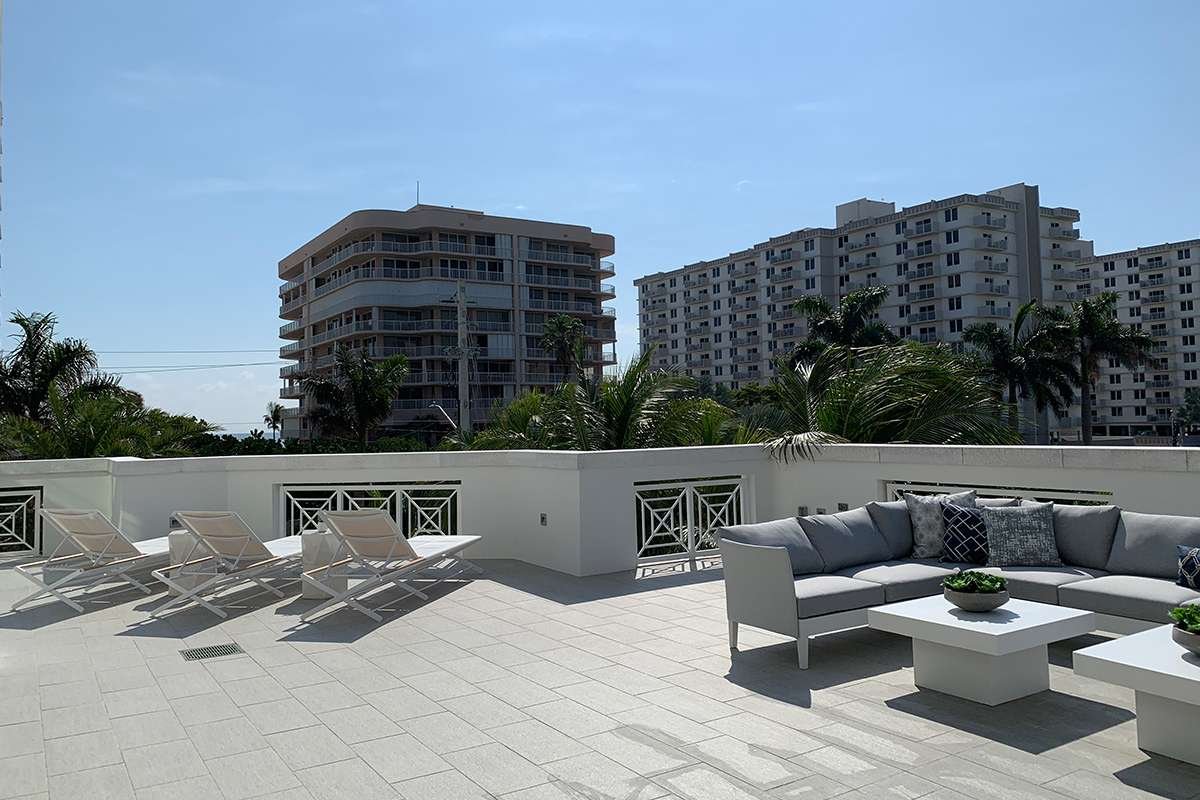
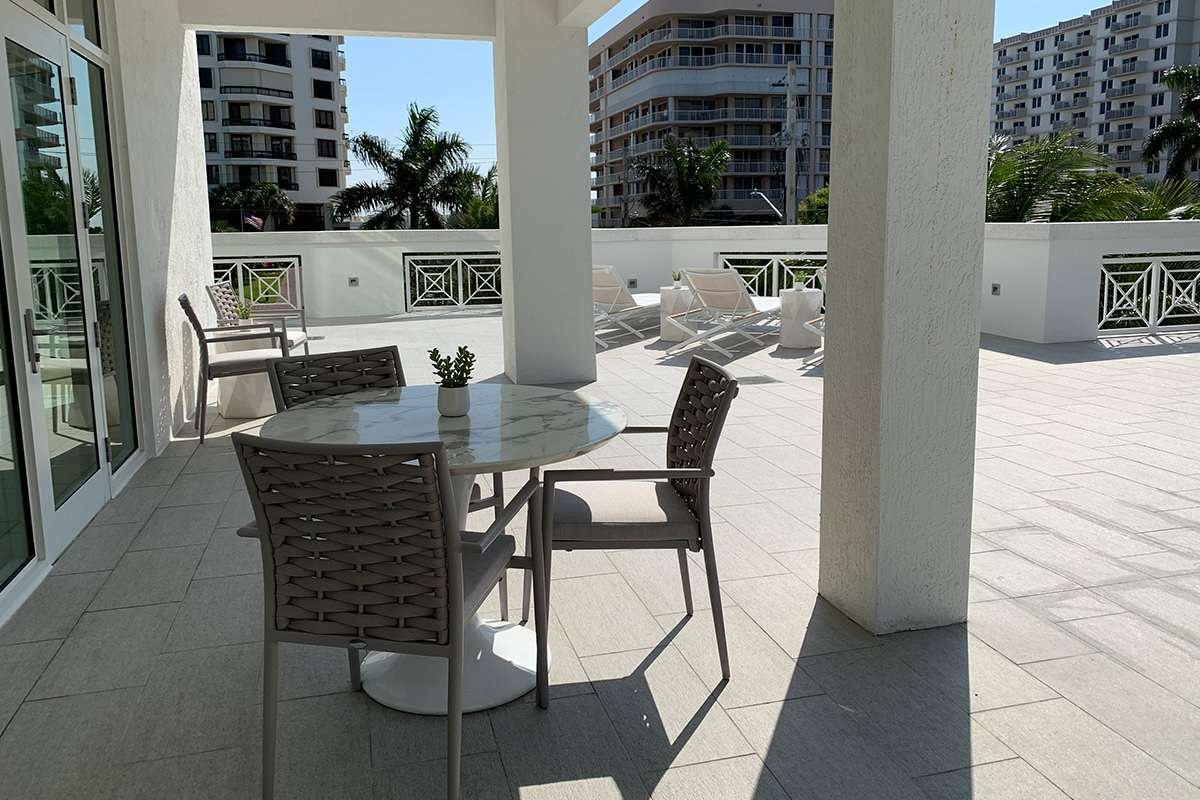
Different lenses are required for different tasks. Wide lenses can capture a lot of the subject matter in one shot. They can add drama and depth to otherwise boring images. When combined with the right time of the day, the results can be a lot more interesting than what can be captured with a single cell phone exposure.
